

Create an accordion comic diorama. Directions for a landscape diorama. A portrait diorama is possible, but may need more paper and the accordion portion will require different measurements.
Materials
- Heavy Cardstock, at least 3 full sheets per person
- Discarded Comics, Graphic Novels, and/or Manga
- Scissors and/or blades
- Scoring Tool (scoring bone, scoring board, edge of scissors) – to make solid folds without cutting paper
- Cutting Board if using blades
- Ruler or Measuring Tool
- Glue Sticks
- Pencils
- Erasers
- Small binder clips or small paper clips
Steps
- Cut cardstock sheets in half, 4 halves will be used for diorama, remaining 2 halves will be cut for accordion sections.
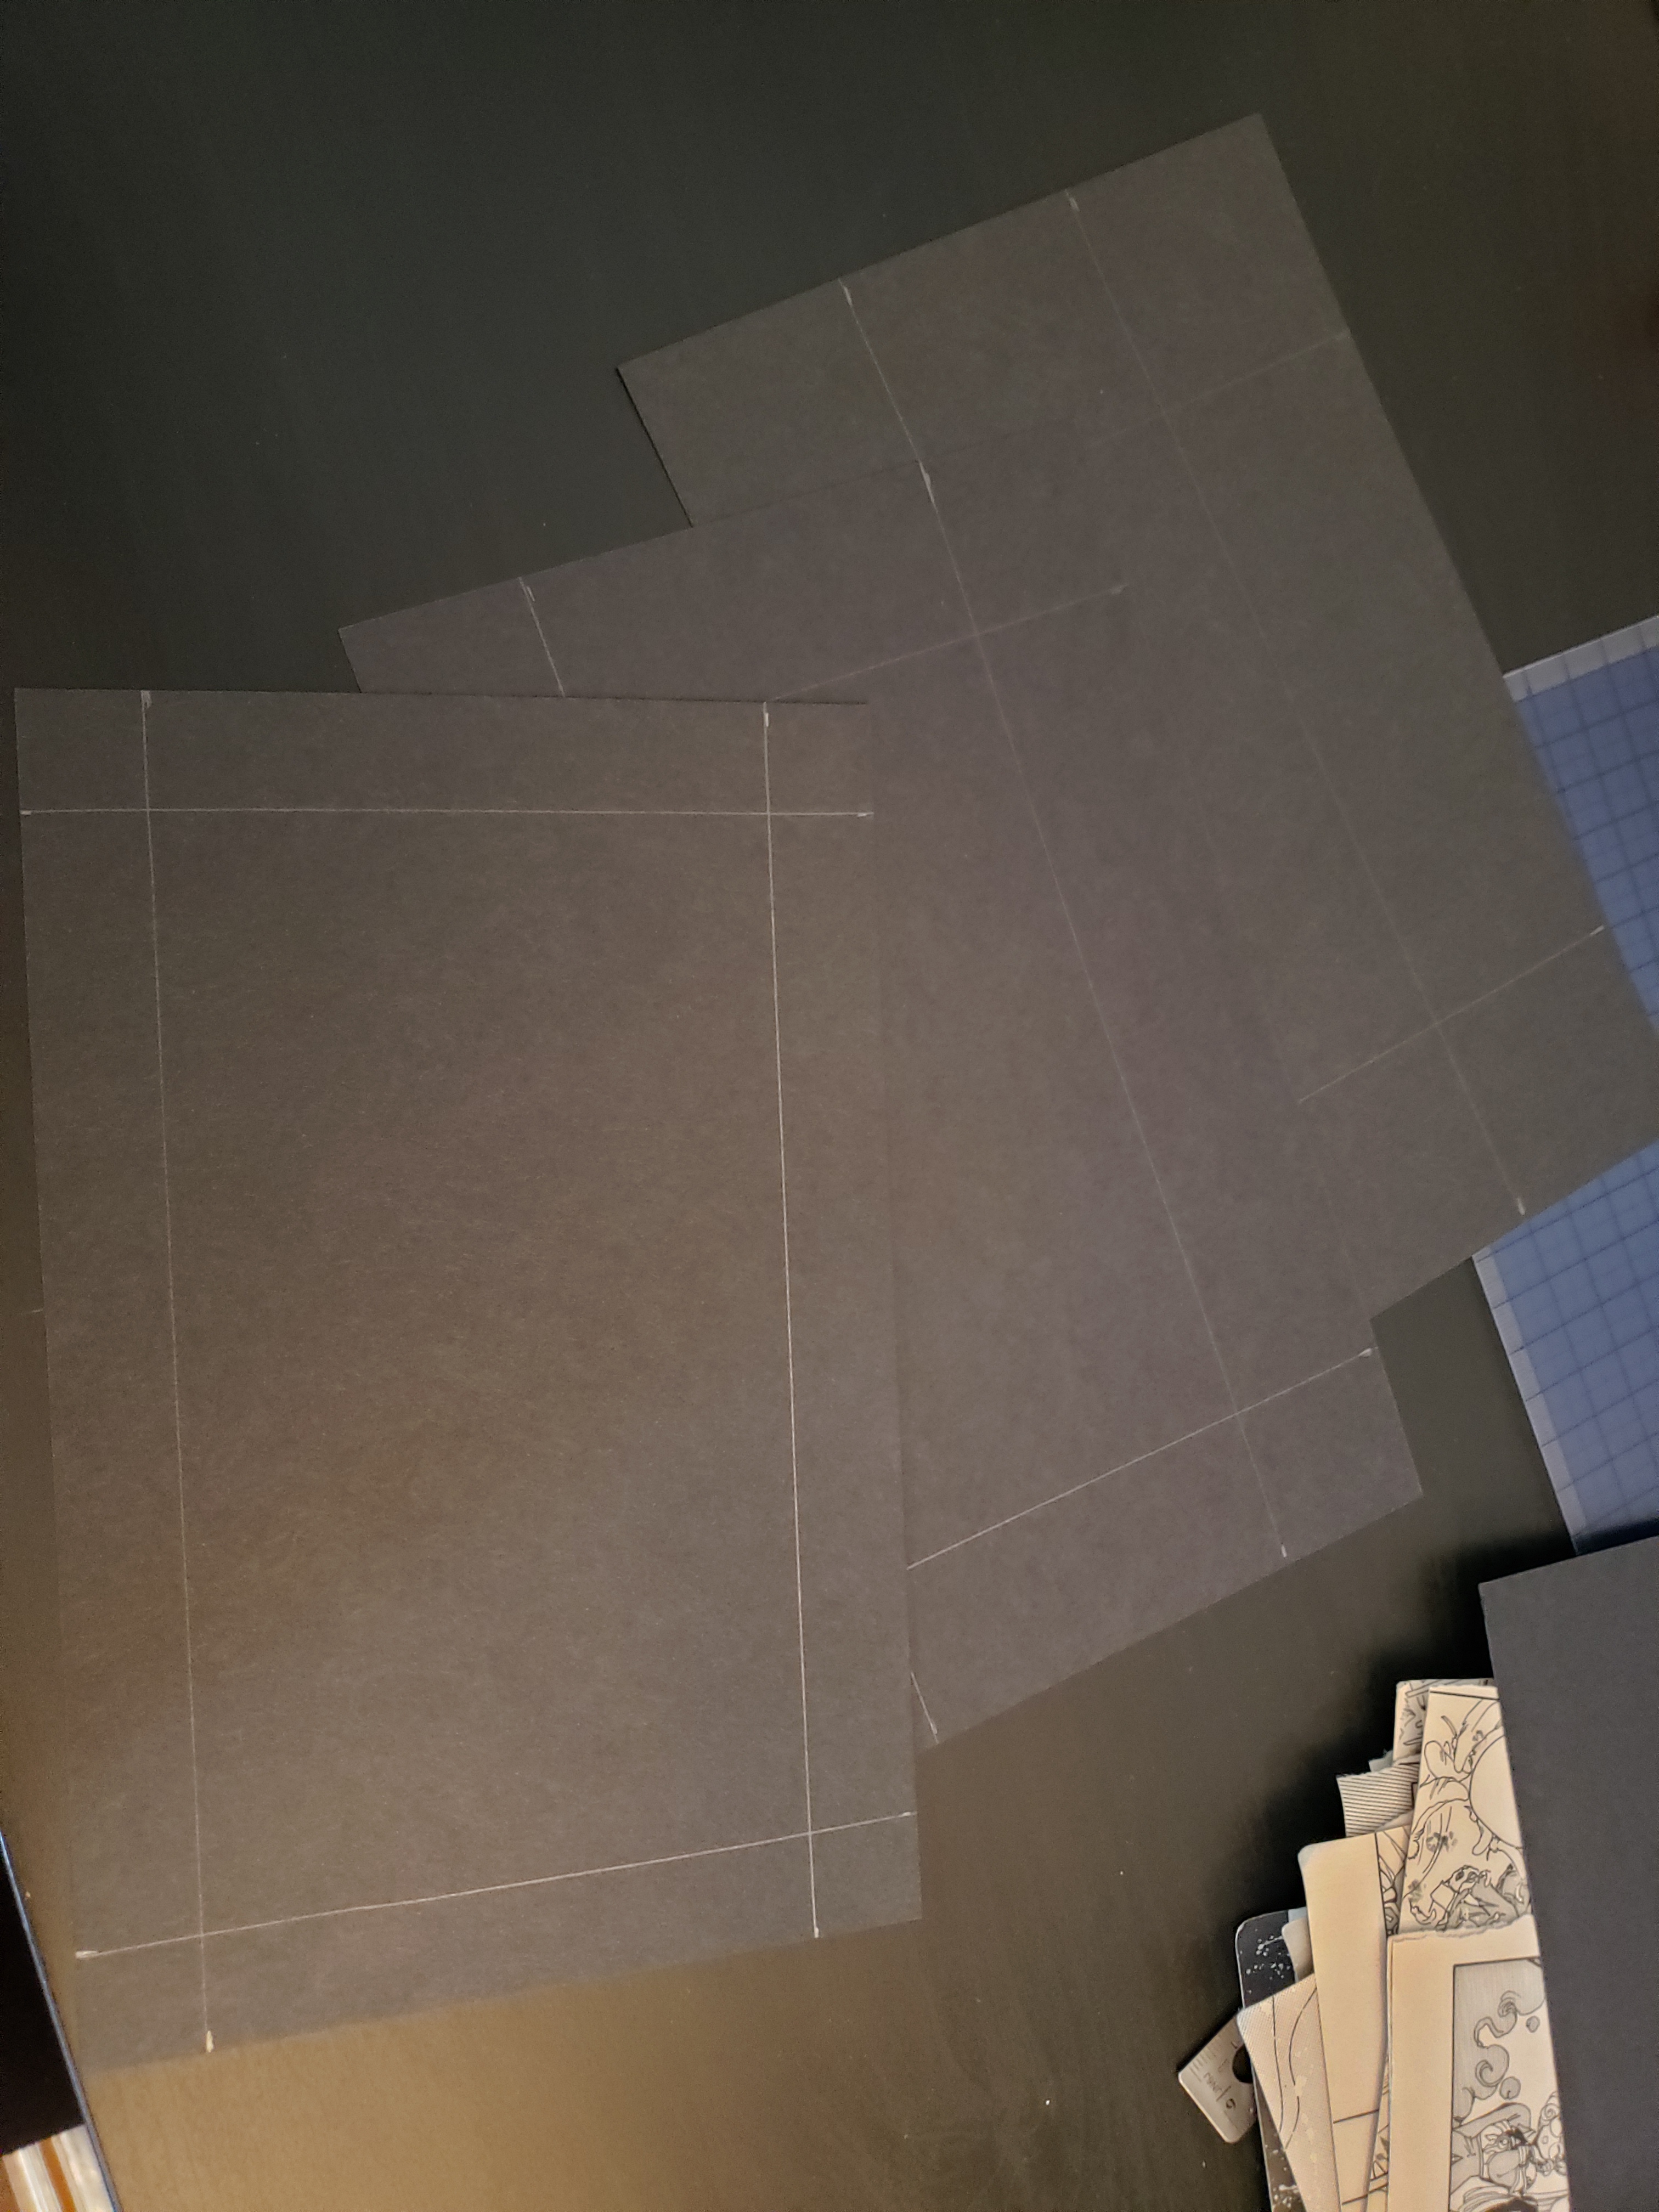
- One one half, measure out a .75 inch margin around one side of the paper in pencil.
- One a second half, measure out a 1.25 inch margin around one side of the paper in pencil.
- One a third half, measure out a 1.75 inch margin around one side of the paper in pencil.
- Keep one half as the backing, that won’t have any cutouts, but will have a comic backdrop. It is recommended to still draw a 1.75 inch margin on one side of the paper to help with comic placement.
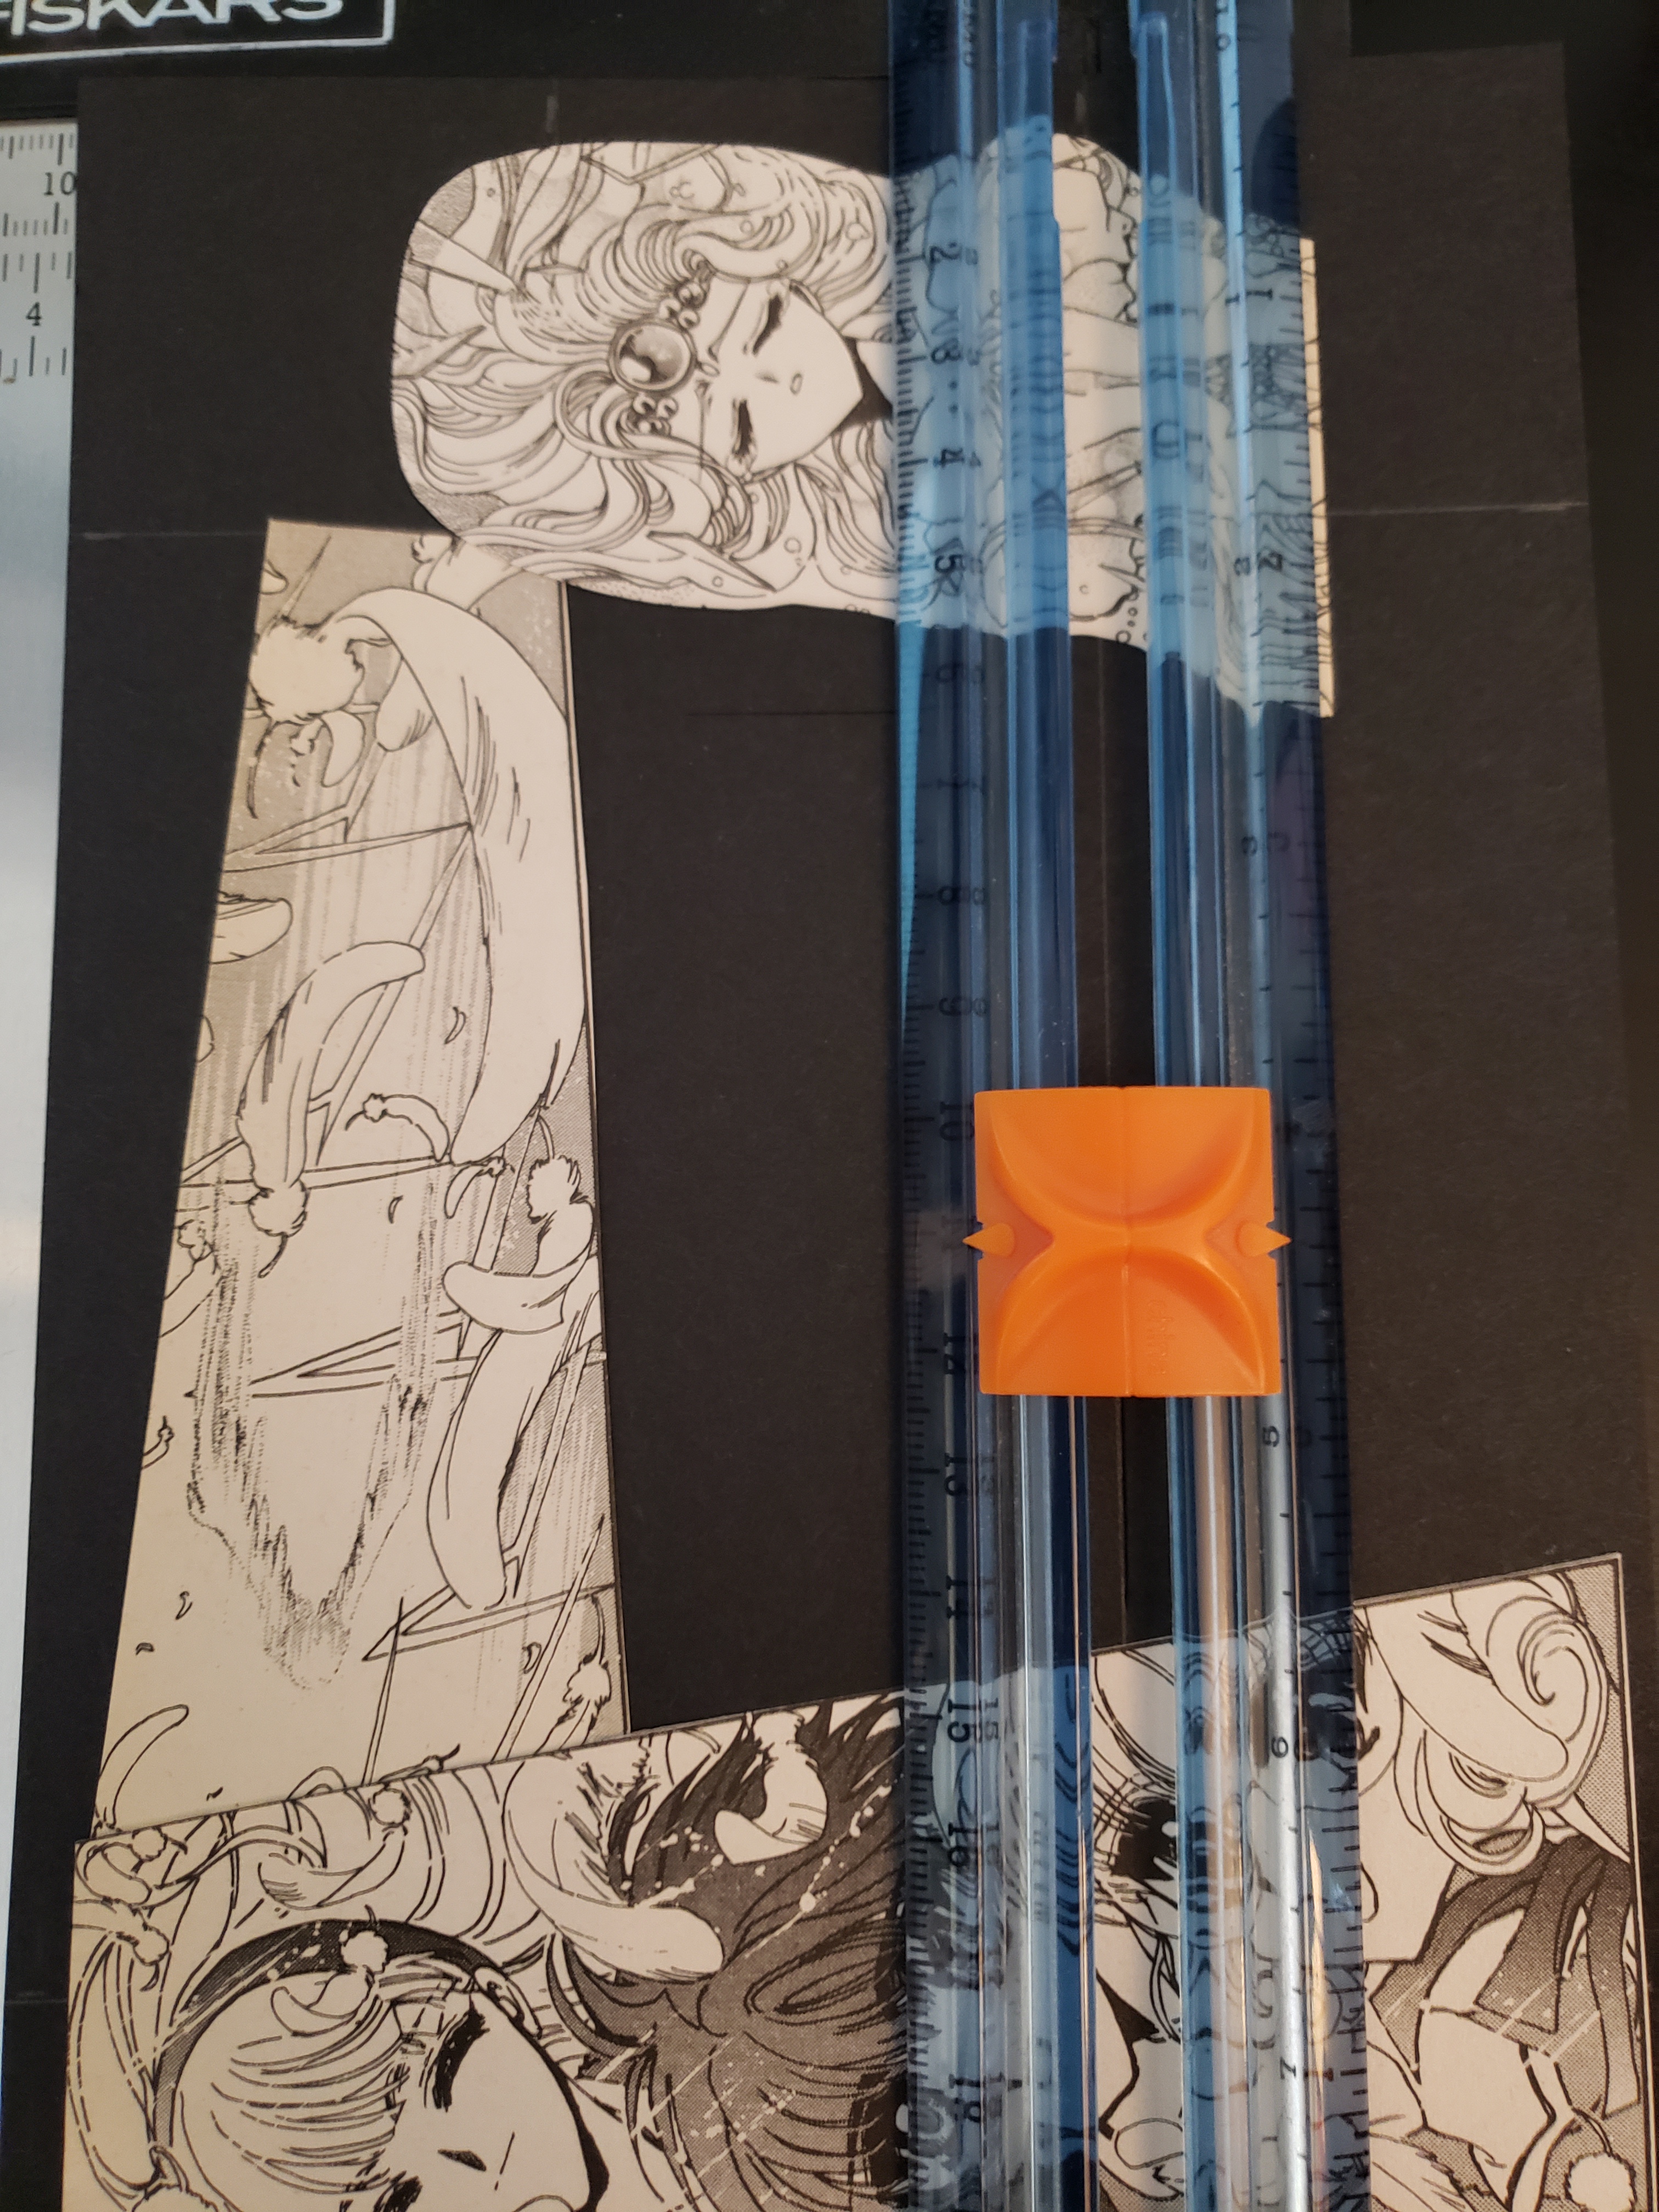
- Pull out panels and cutouts from your comic discards.
- Start arranging your cutouts and panels on the four halves. Think about where the cutouts will be and if the overlaps will work well through each layer of the cardstock.
- A small, but full image works well for the background, uncut panel half.
- Medium images that take up full lengths work for the middle panels.
- Smaller images work well for the outer panel.
- DO NOT COVER ALL EDGES OF THE WINDOW CUTOUT
- Alternate heavy sides of the windows to make a cascading effect.
- The first panel, the one with the largest window and smallest margin, push comics to the edge.
- When placing images on to each panel, remember that the accordion will need to stick to the left and right edges of each panel. Any images within the first .5 inch on the left and right side margins will be covered up.
- Once you’ve arranged some of your comic panels, I recommend starting with the 2nd to last panel, paste down your items along the pencil lines.
- This will help you better determine the back panel comic placement.
- Cut a small hole inside the pencil markings, near the center, and then use scissors to cut along the edge of the comics and pencil lines. This will help avoid folding the panel to cut out the center.
- Complete all panel window cut outs, then erase all remaining pencil marks.
- Clean up any edges but flipping each panel over and seeing if any comic parts stick past the cardstock. Trim to cardstock edge.
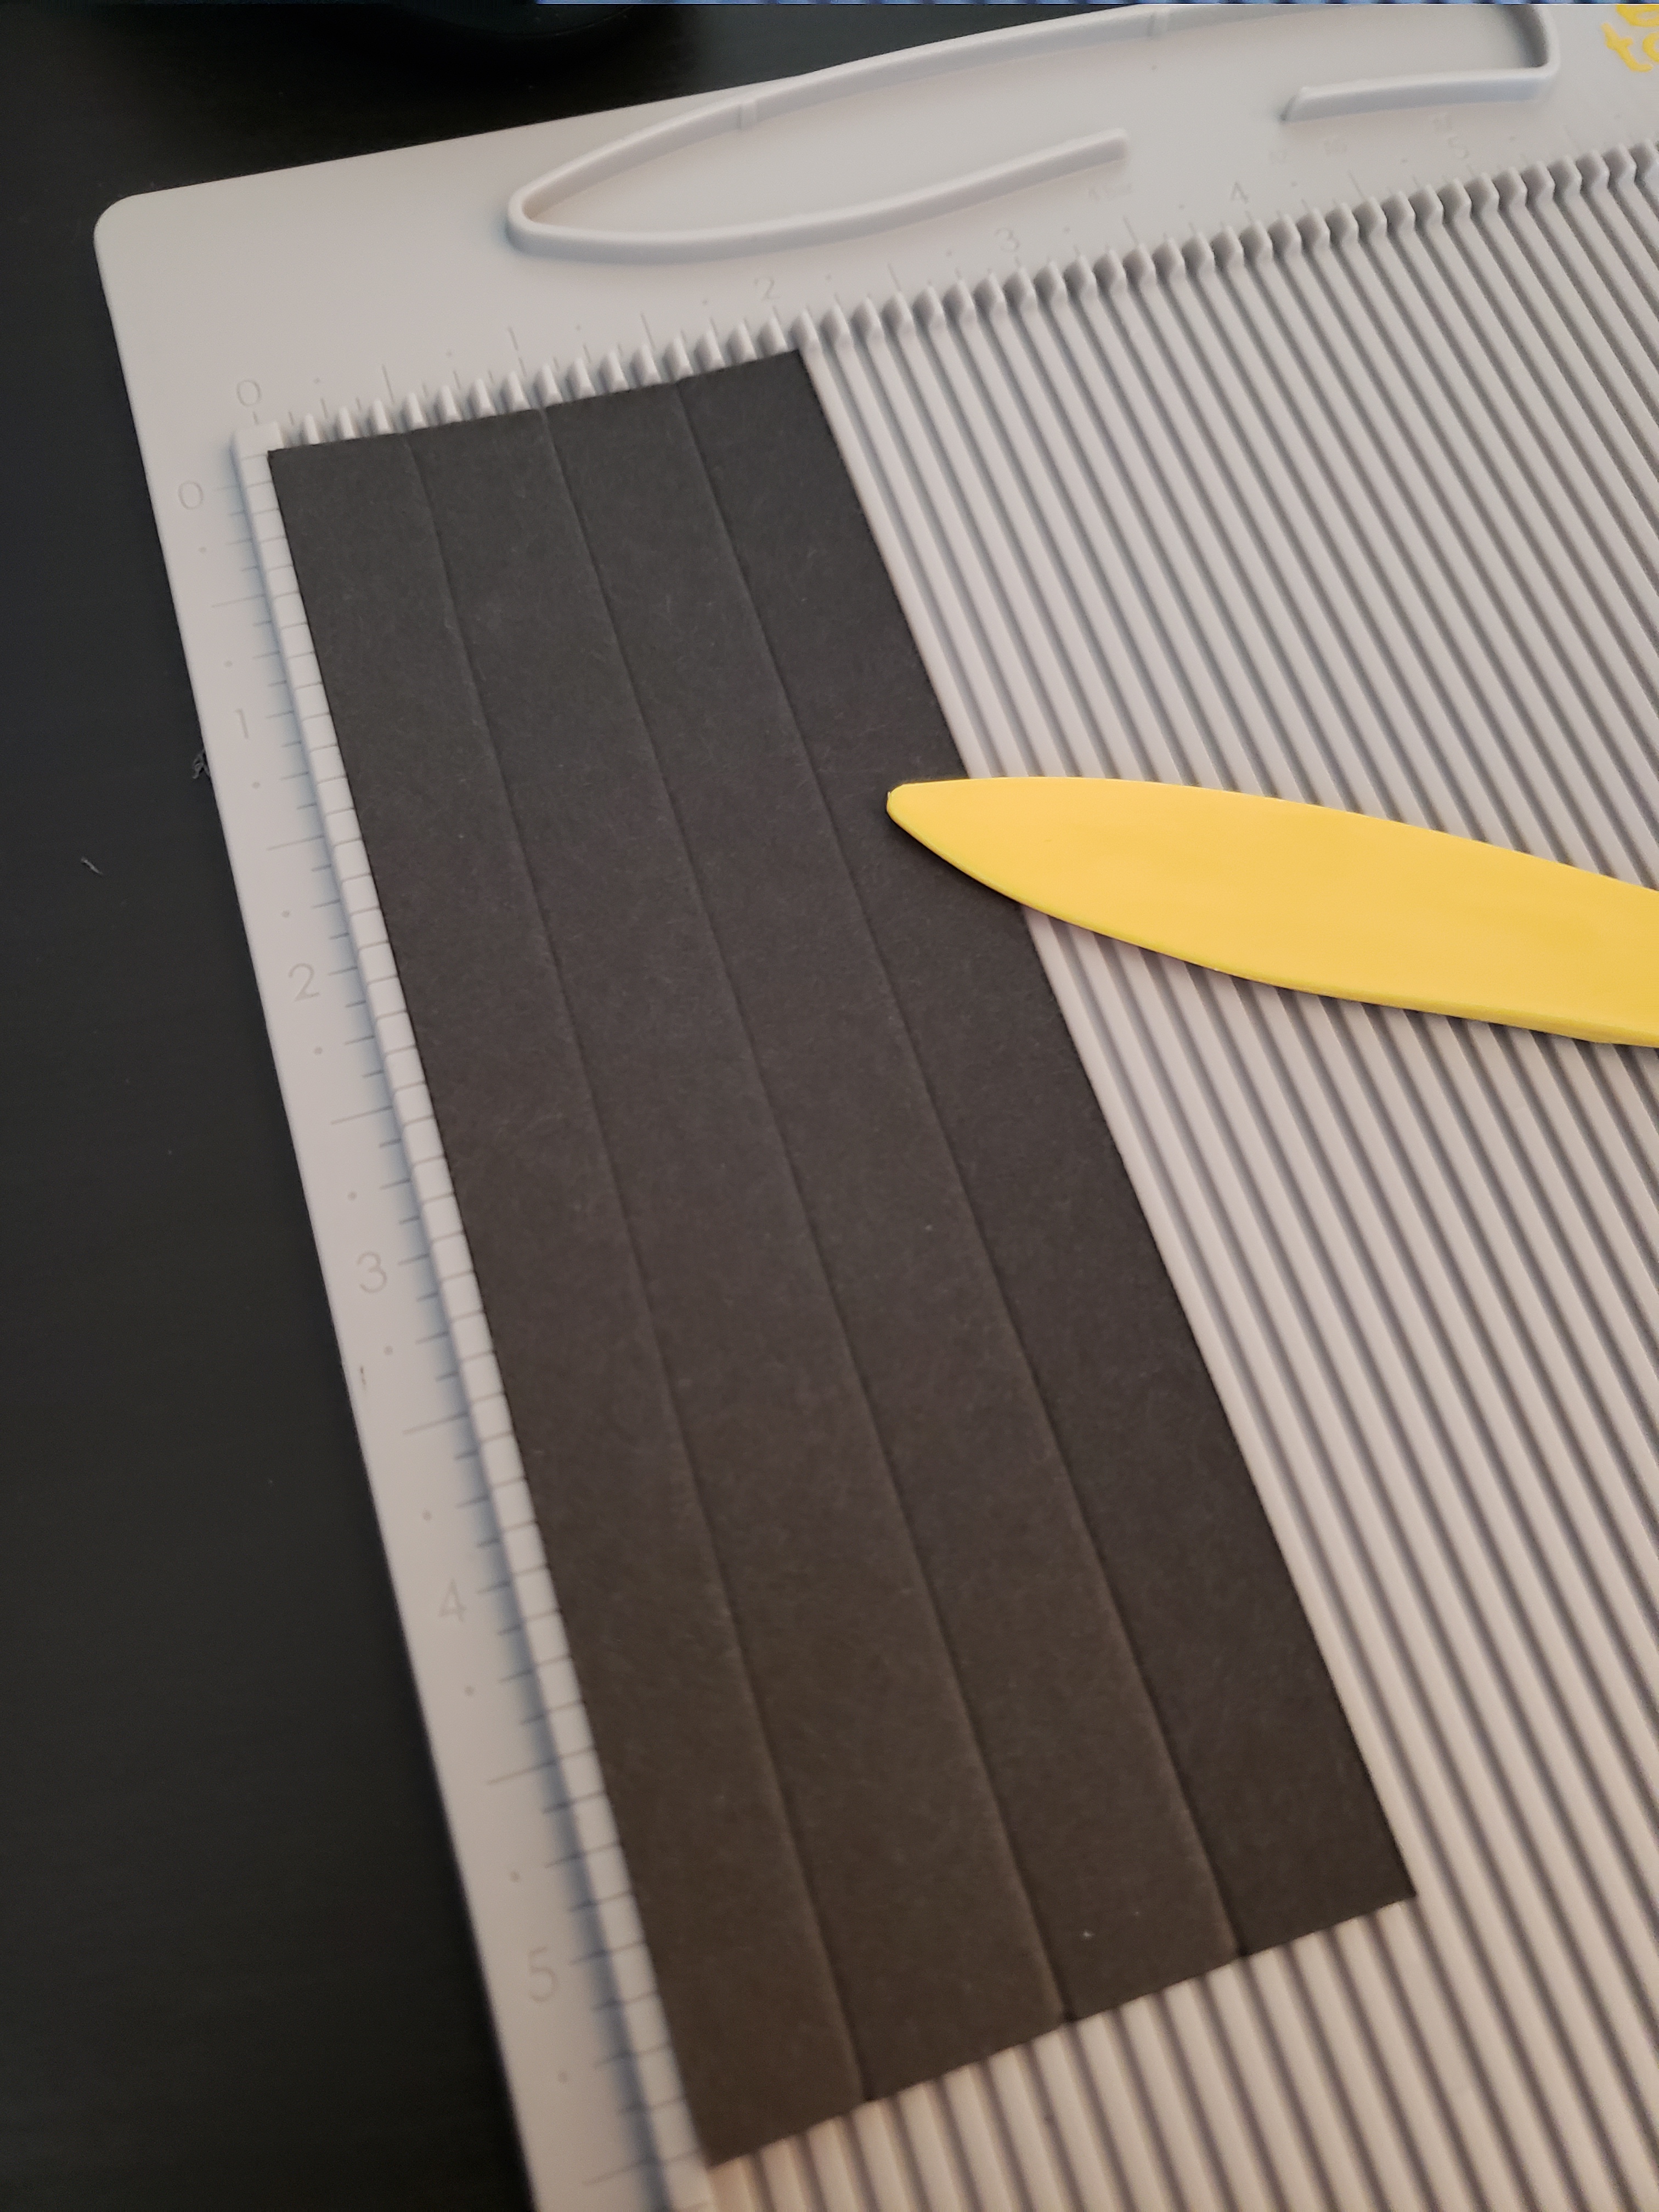
- To create accordion effect, cut remaining two half cardstock sheets into 6, 2” by 5.5” strips. There will be 2 strips leftover.
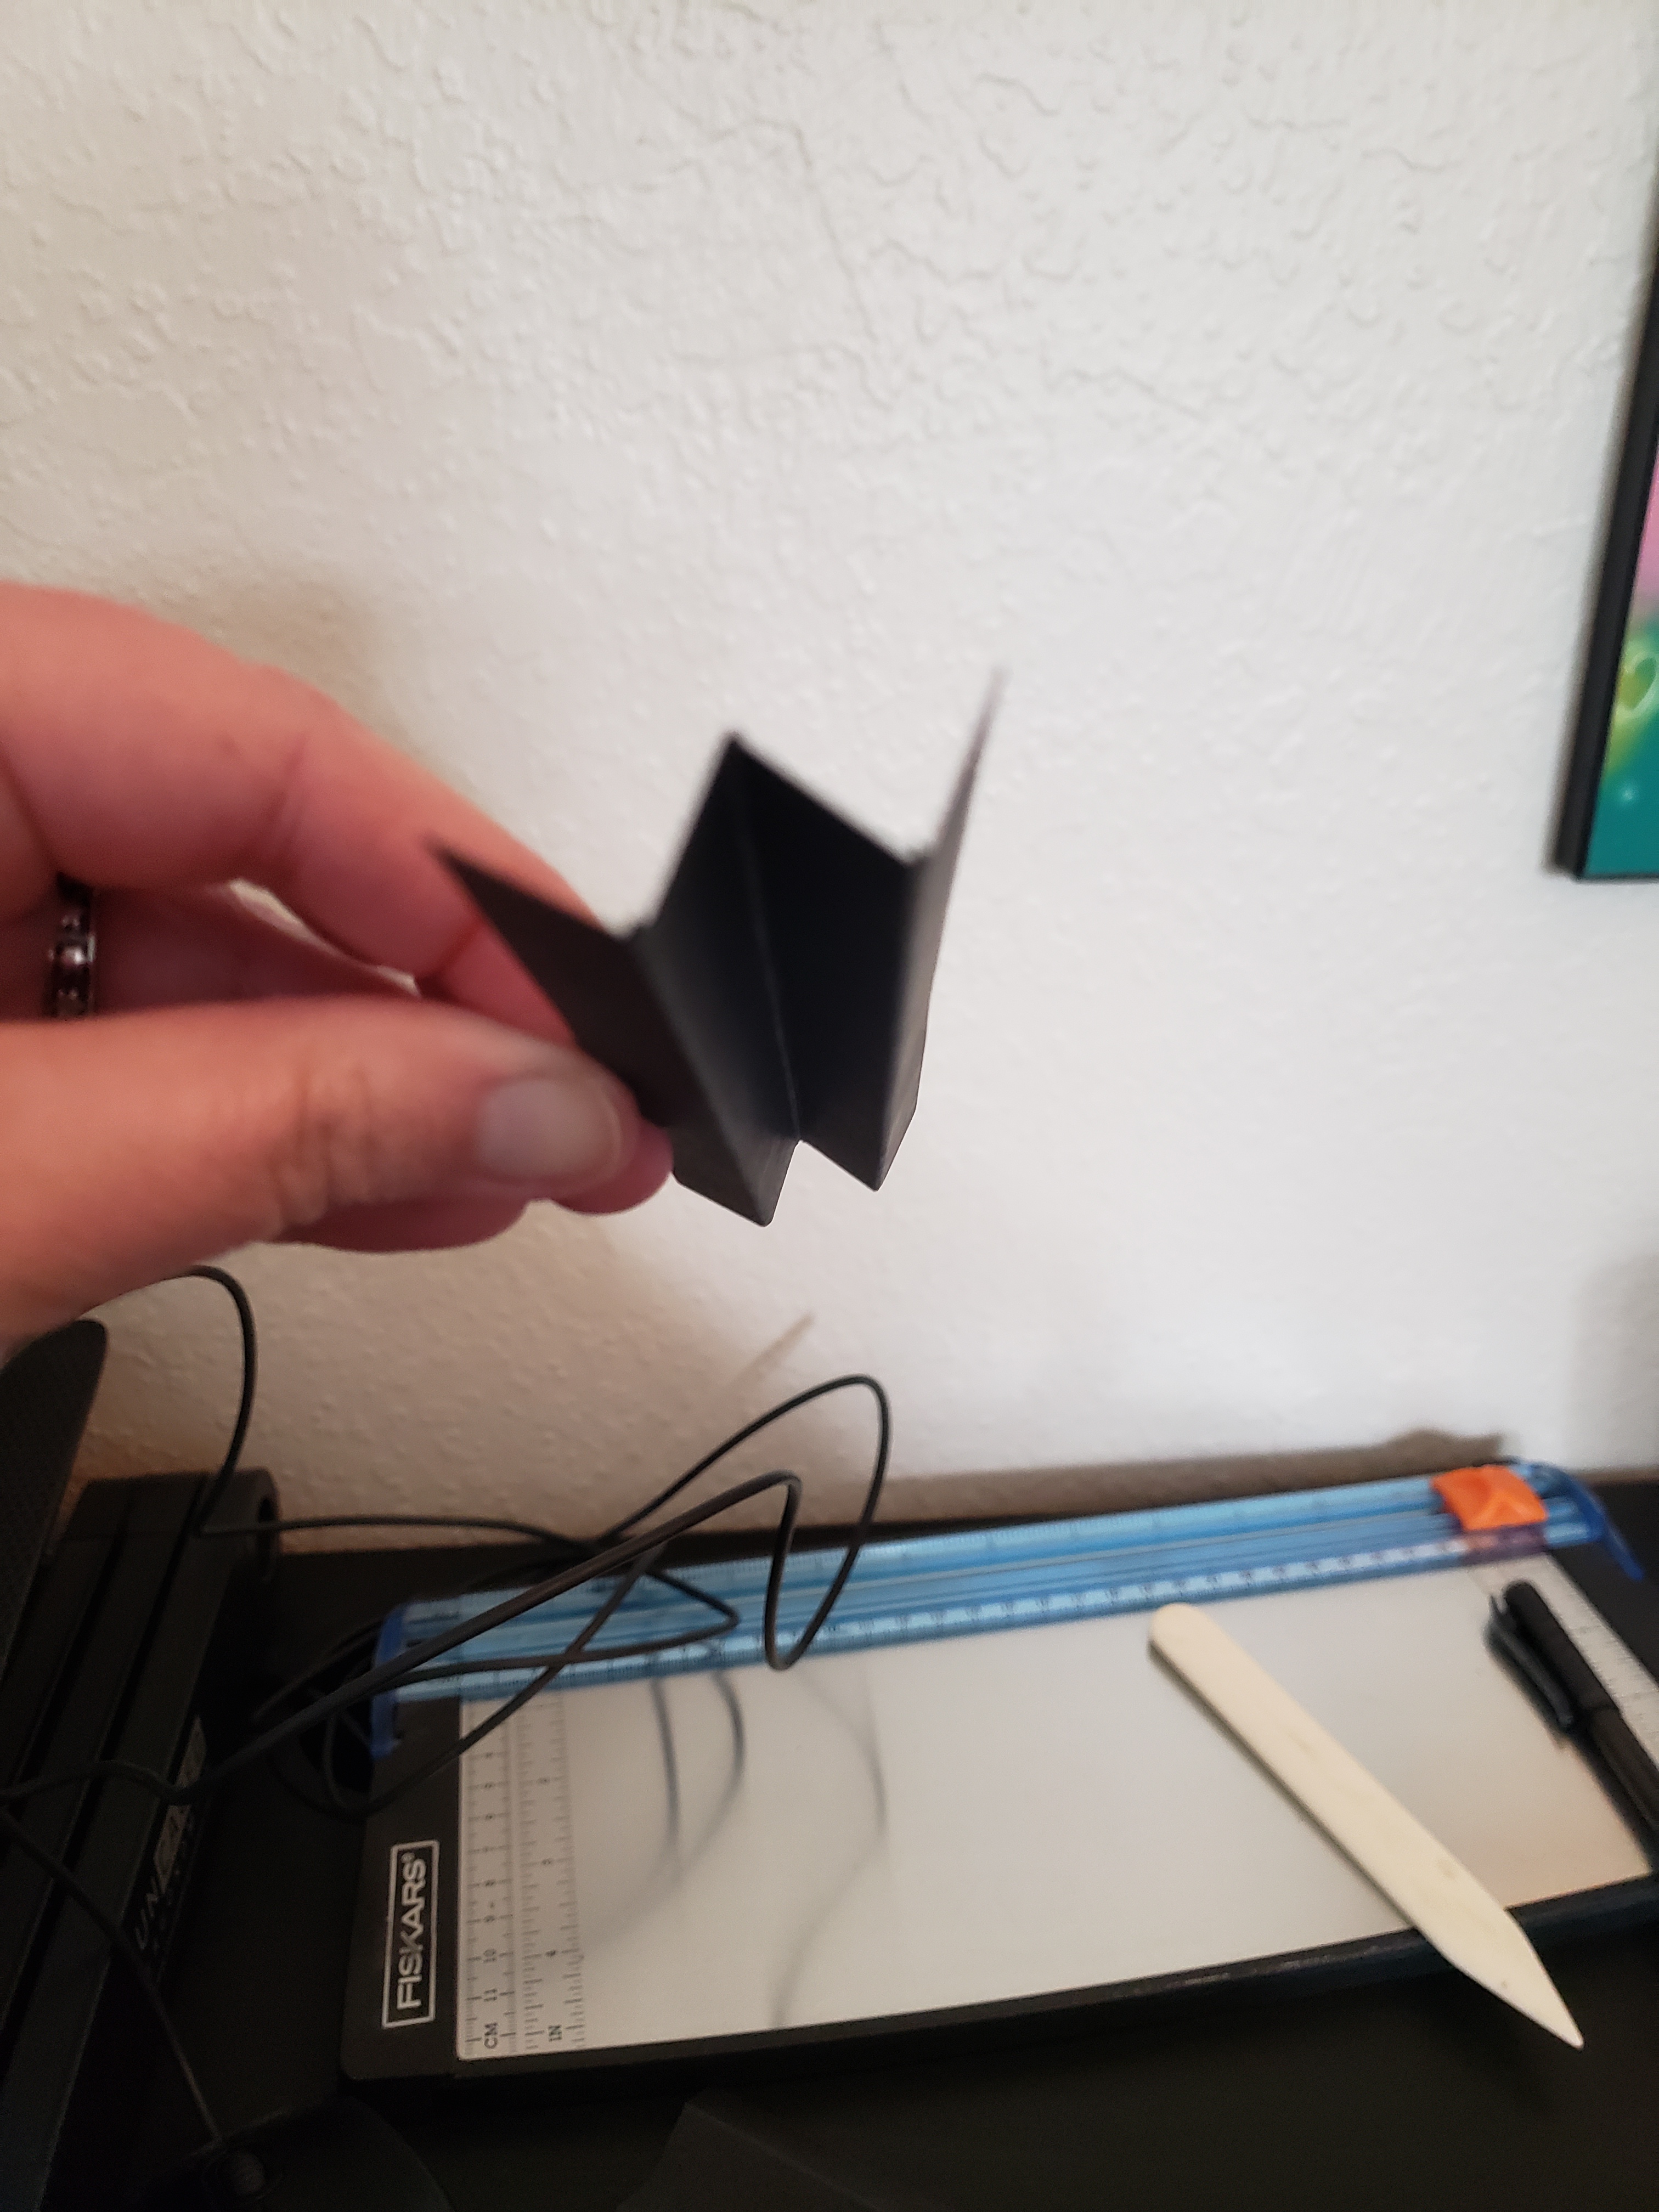
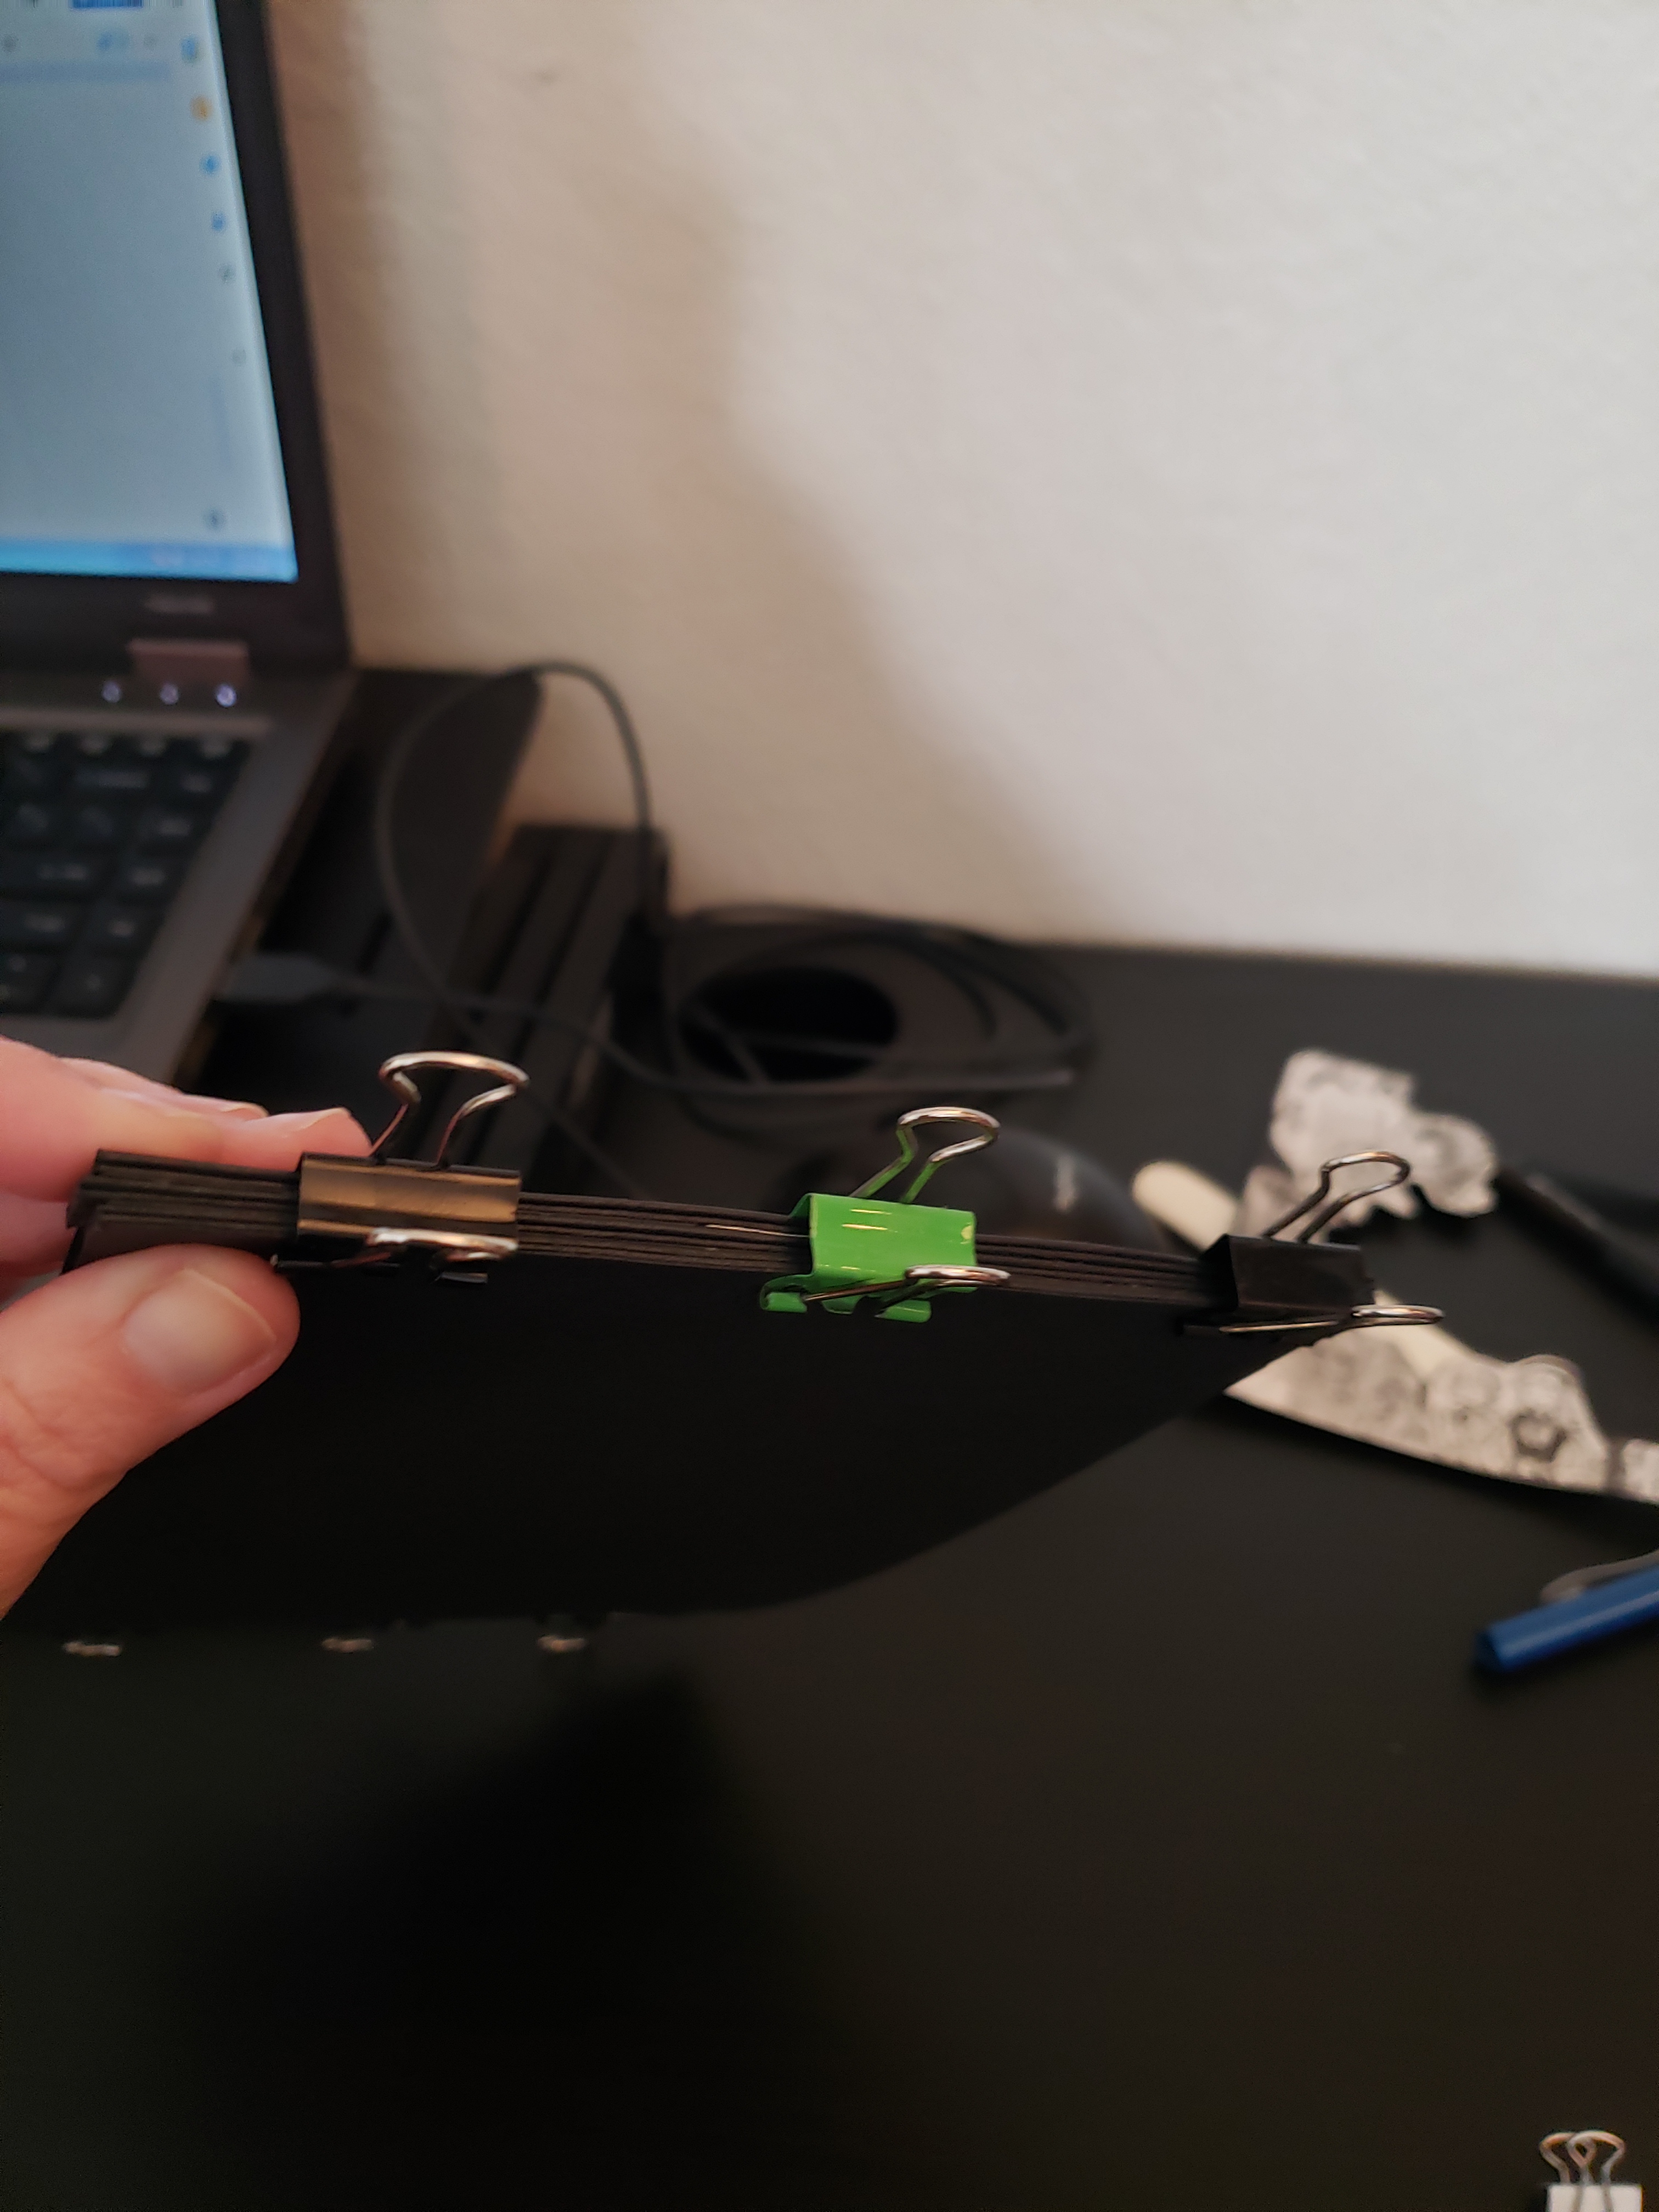
- Score the 2” strips into half inch folds and fold strips into a W shape.
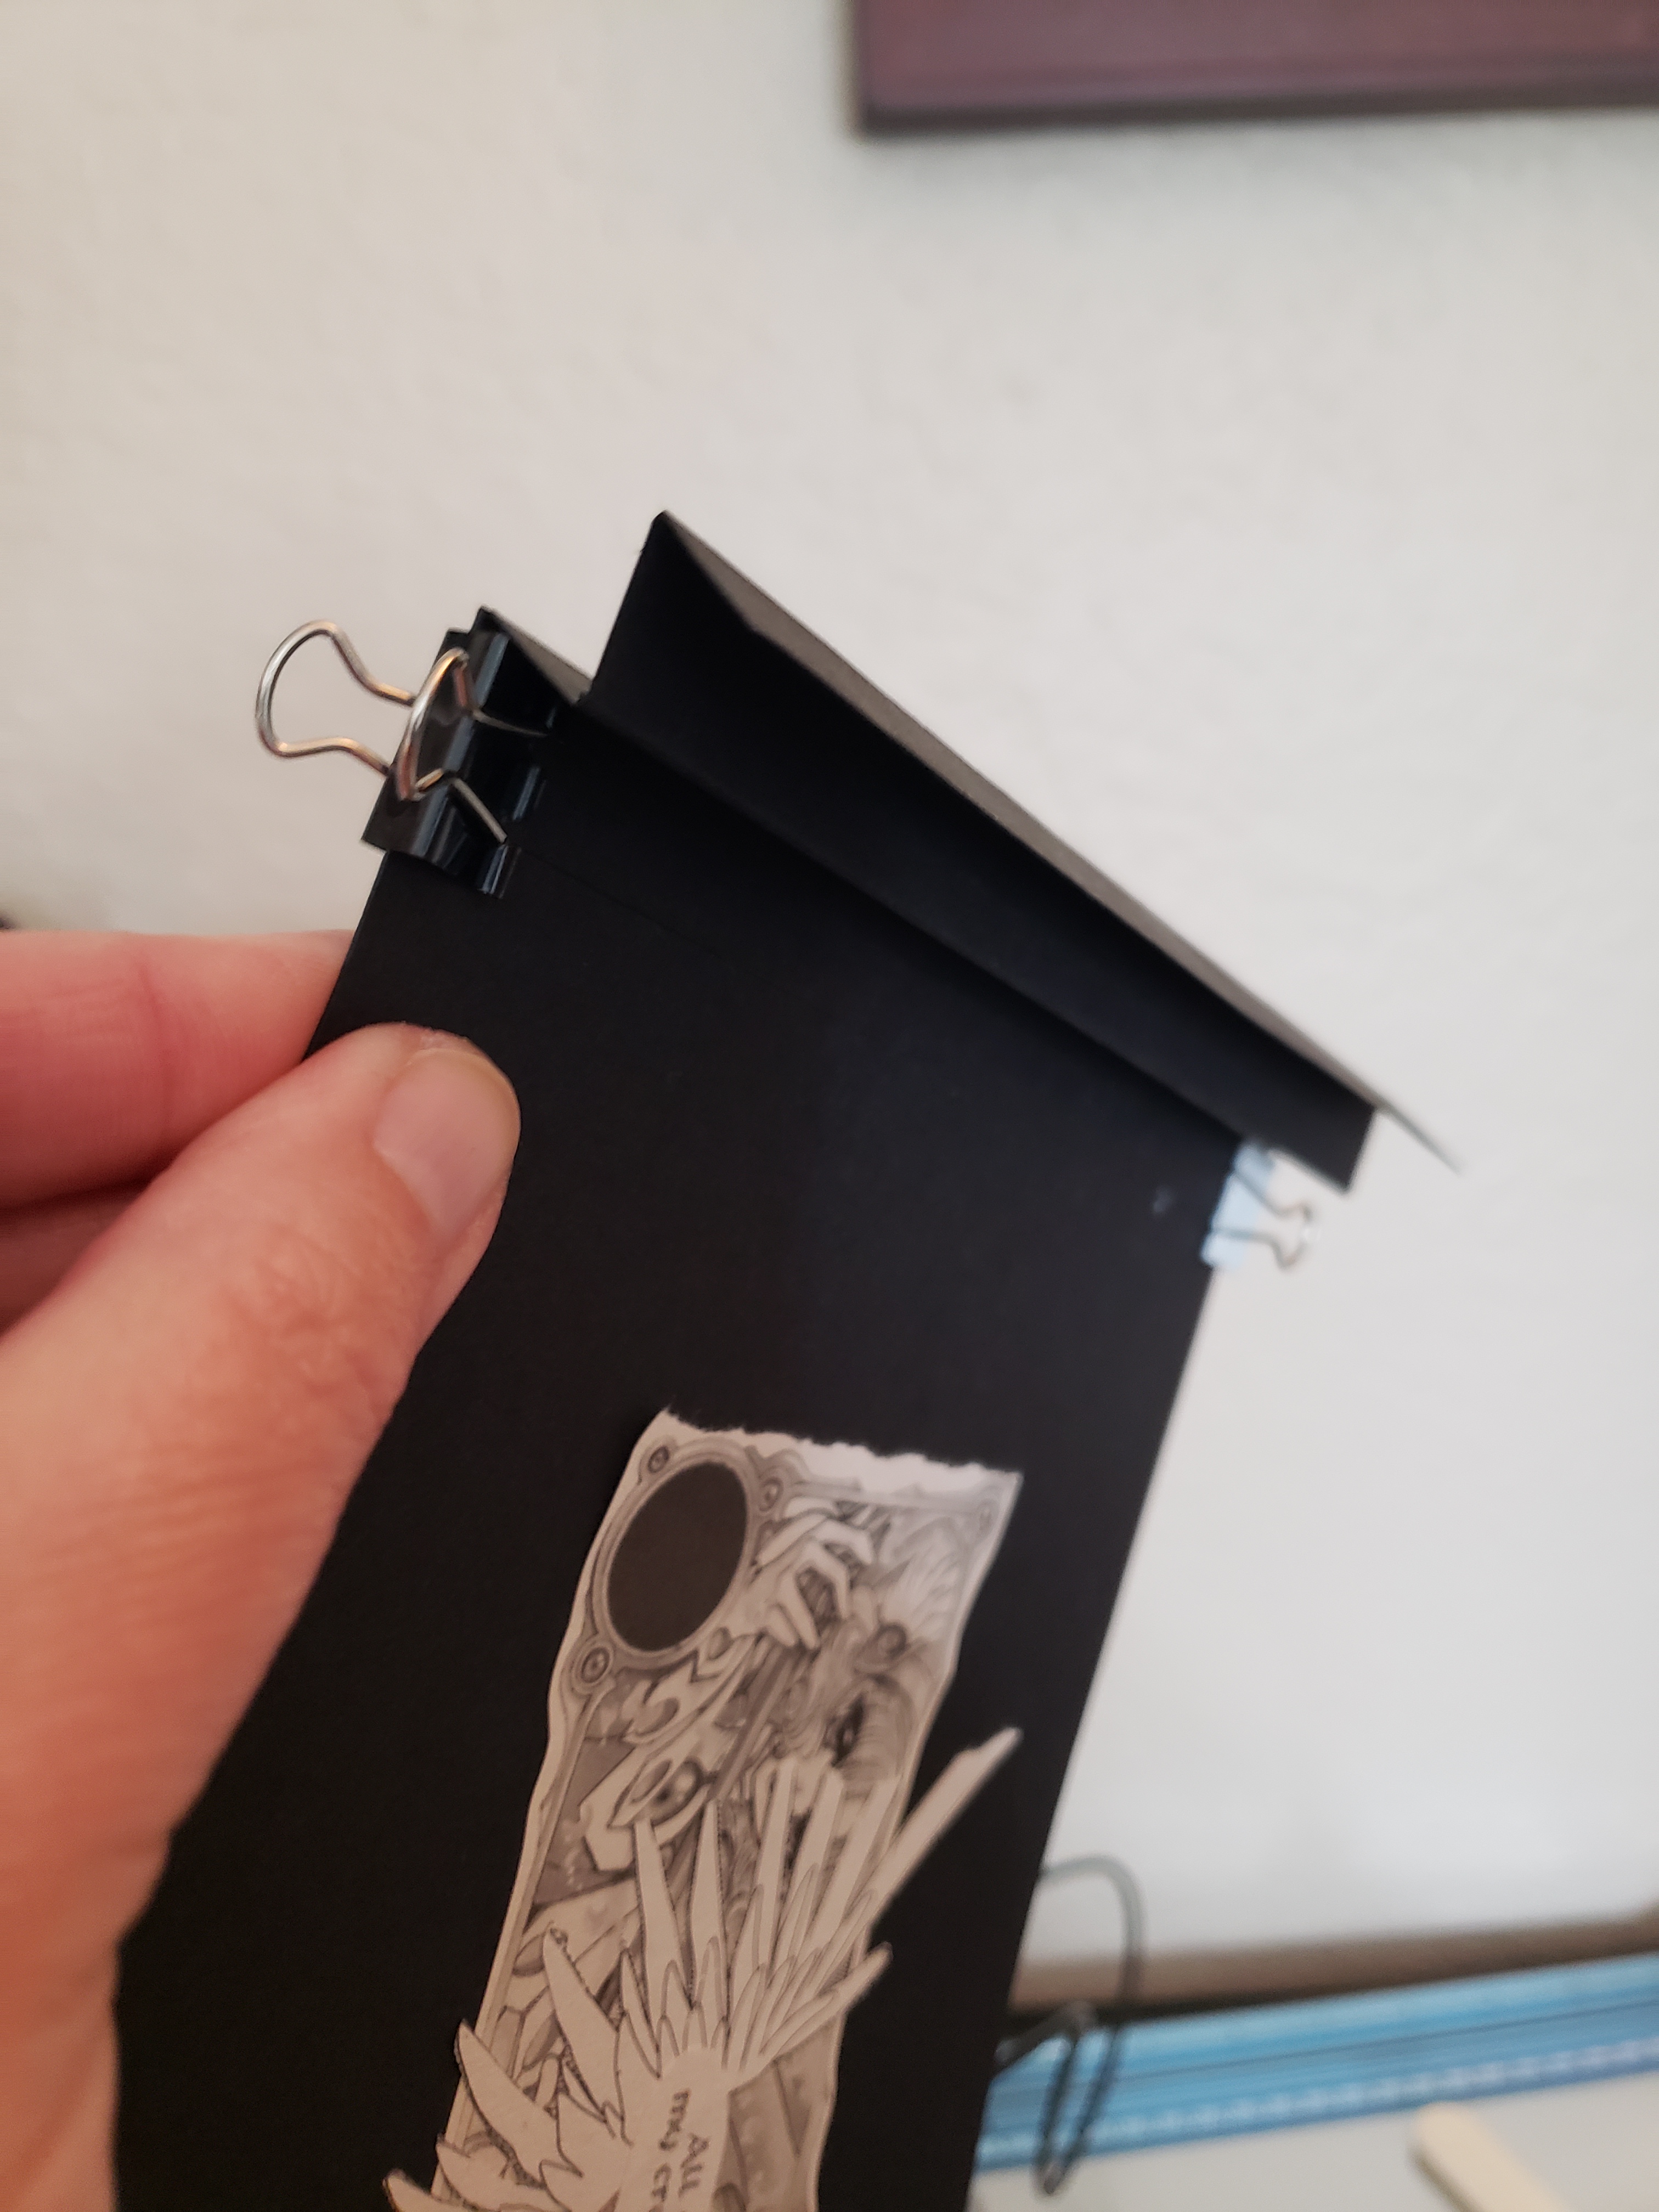
- Carefully glue a W strip to the short edge of the bottom/back panel. Use binder clips or paper clips to keep secure while drying.


Prep Work
- Things you can do to make the project go faster for the teens.
- Pre-cut the cardstock into half sheets. Though, if you have fun alternative cardstock colors, your teens may like choices.
- If able, pre-draw the pencil markings for the 3 panels that will have the centers cut out. One with .75 inch margins, one with 1.25 inch margins, and two with 1.75 inch margins (one for the 2nd to last panel and one for the comic only backing).
- Pre-score and cut the accordion portions.
Alternatives
- Use different color cardstock to make more of a photo frame instead of featuring comics, graphic novels, or manga.
- Decorate the edges with doodles or fun text.
- Get creative.
- Extra credit if you incorporate fairy lights.
Credit
Steps and photos provided by Jessica Lundin of San Jose Public Library
