
Contributor: Carla Avitabile
Description: Create little light boxes using a simple circuit.
Supplies:
- Copper Tape (online or hardware store)
- Cardstock
- LED Lights (purchase online)
- Coin Cell Batteries (best price are found online)
- Alligator Clips (office supply store, we have tons in our library)
- Colored Rice Paper (art/craft store)
- Tracing Paper (offices supply or craft store)
- Glue Sticks or Regular Glue
Equipment:
- Scissors
- Needle Nose Pliers (2-3 will be plenty, I frequently do a shout out to staff to borrow tools when I don’t have enough of something)
- Rulers
- Permanent Black Markers
Number of People: This is up to you, I usually limit most programs like this for 20-25 depending on whether or not I have a volunteer to assist.
Target Audience: All Teen
Cost: $15-$25 – This should be enough for two programs if you order your LED lights and coin cell batteries online.
Prep Time: 20-30 minutes – This really depends on how much time you have for the program. I usually cut the paper rectangles needed for the program since it saves time and I don’t want a mad rush of kids using the paper cutter.
Program Time: 1-1.5 hours
Instructions:
- To construct a light box you need two pieces of cardstock. One should be 5.5″ x 2″ and the other should be 5.75″ x 3.5″.
- Everyone will also need 2 pieces of copper tape about 5″ long and one LED light.
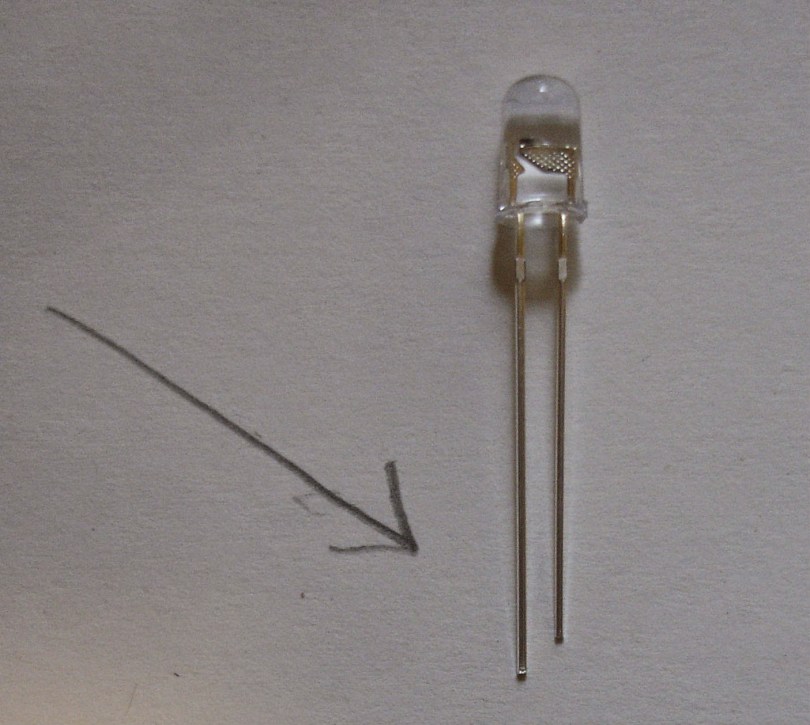
- LED lights have two prongs, a positive (the long one) and a negative (the short one). Using the pliers curl the ends of the LED lights. In order to remember which one is the positive and which is the negative I bend one flat.
- Attach the LED light to the 5.5″ x 2″ piece of cardstock and lay down the copper tape. Put the positive side on your left, now you can bend down the negative.
- The pattern for the copper tape is pretty simple though you may want to project it on the wall or pass around some handouts. Be sure to really rub the copper tape down so that all the connections are created. The copper tape needs to carry over to the back side of the paper strip. In the event that people mess this step up you can usually make the circuit by connecting more copper tape to what you already have.
- Fold the top of the cardstock down 1″.
- Test your circuit by putting a battery between the fold and holding it in place with an alligator clip. It is key that you test the circuit before you do this, because it is difficult to fix once you add the light box. If the LED will not light try flipping the battery. Also check that the tape is firmly in place and rub down where it meets the LED light.
- Take the left over piece of cardstock and mark a .75″ border around three sides of the cardstock, then mark off a similar .25″ border. Using the lines or marks fold the .25 edges and then the .75 edges, fold it back and forth so that the edges are scored really well.
- The edge without the folds is the top. At the bottom fold make a .75″ cut on the left that follows the .75 edge, now do the same on the right side.
- At bottom left of the cardstock, use the folds as a guide and cut out a small rectangle the cut should be .25 x .75. Now do the same on the right.
- Now you want to cut a window in the center of the rectangle. Using the inner fold as a guide, measure .25 border all 4 edges. Draw a rectangle and cut out a window.
- Decorate a 1.75″ x 4.75″ piece of tracing paper with magic marker or use colored rice paper to make a design that will go in this window.
- Glue it on the inside edge using glue stick or regular glue.
- Once the “picture window” has been glued down, fold up all edges bottom edges to form a little box.
- Once the “picture window box” is dry, glue in the cardstock with the circuit. Avoid using glue where the copper wire continues to the back side of the circuit.
- Put the battery on the top of the fold so that the battery touches the tape on both sides of the cardstock. Hold battery in place with the alligator clip.
Step 3, Part I 
Step 3, Part II 
Step 5 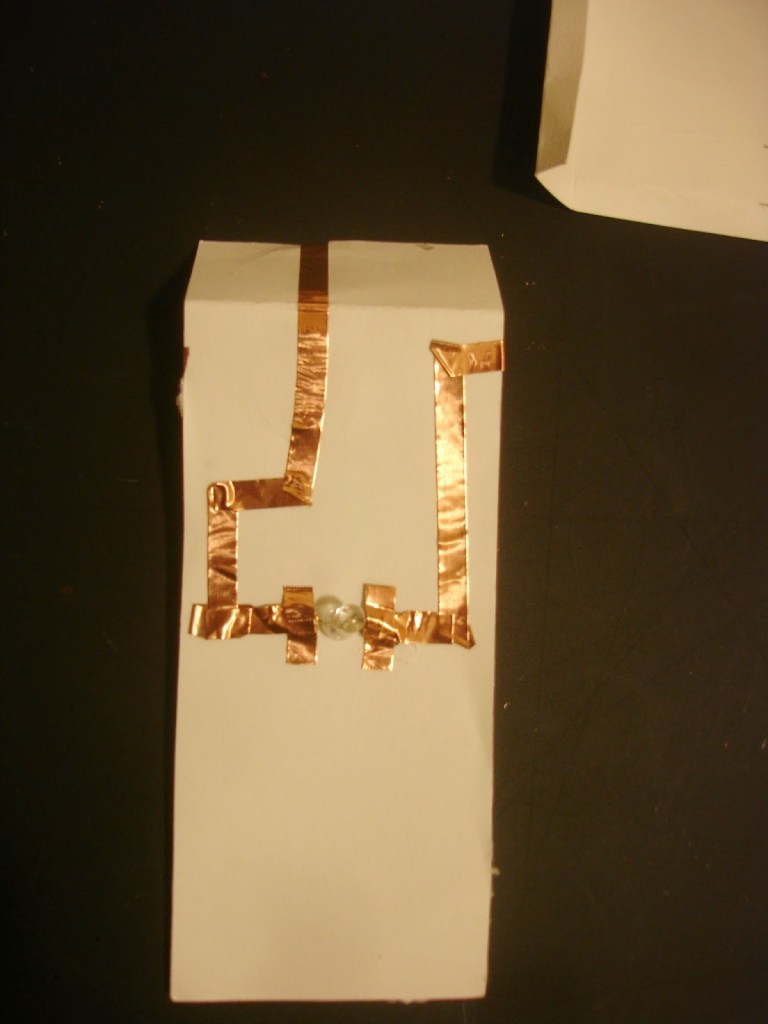
Step 6 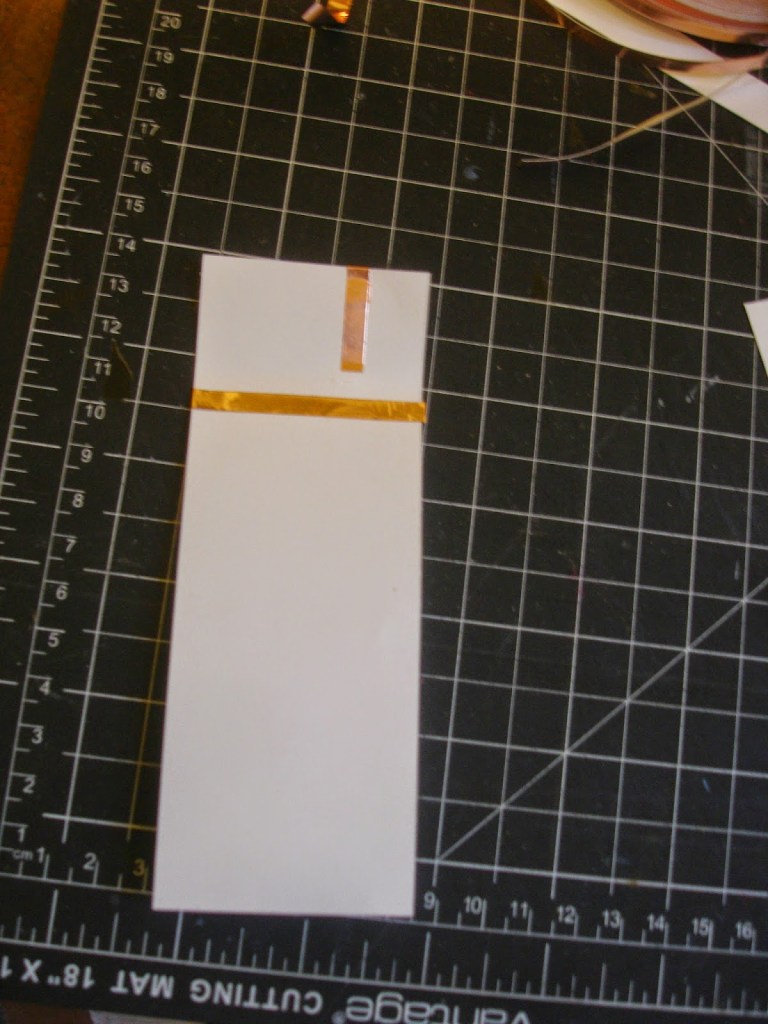
Step 6 
Step 7 
Step 8 
Step 9 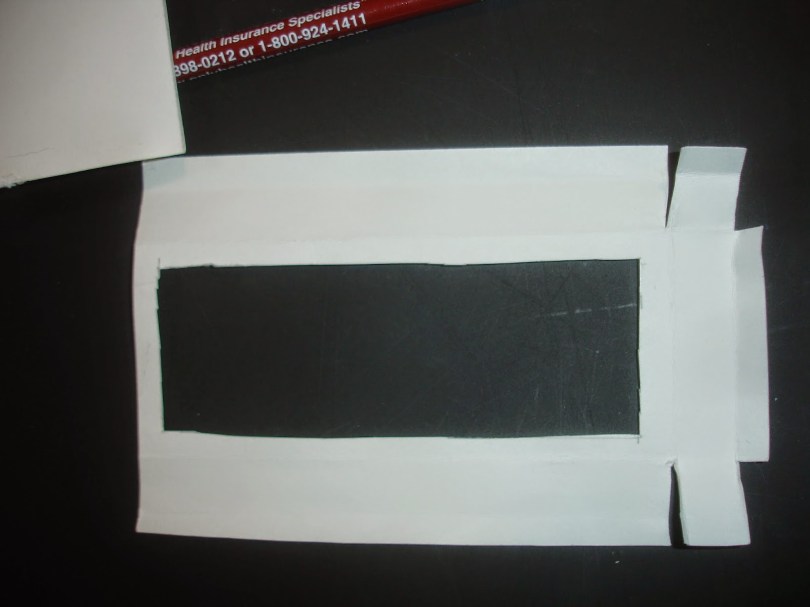
Step 11 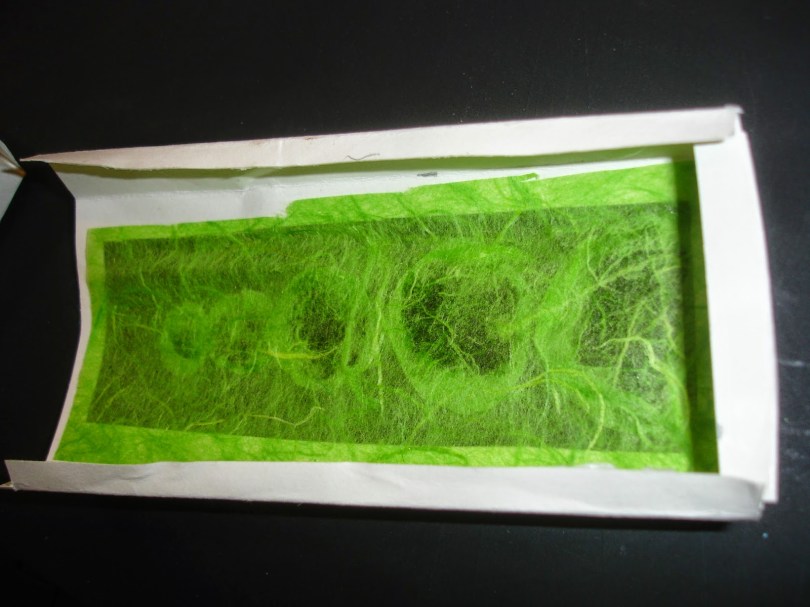
Step 13 
Step 15 
Step 16 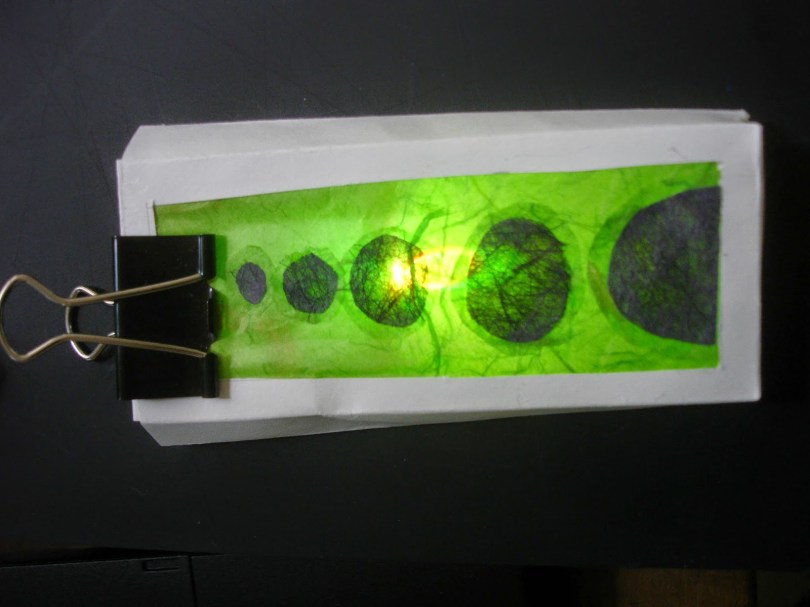
Step 16
Website: I used the circuit guide from this excellent tutorial for a paper circuit pin by sparkfun. They have really good information about basic circuits and some cool products. A worthwhile site to peruse in your quest to find “Maker” type products.
Source: Carla Avitabile with an assist from Sparkfun
