
Contributor: Andrea Mullarkey
Description: Make and take a library-themed mini notebook.
Supplies:
- Two Library Cards per Booklet
- 15 Pre-Trimmed Catalog Cards per Booklet (2″x3″)
- 2 Split-Rings per Booklet (1/2″)
- 3-Hole Punch with Adjustable Center Punch
Number of People: 5-10
Target Audience: High School, Older Teen
Price: $1 per Participant
Prep Time: 1 Hour
Program Time: 30-60 Minutes
Instructions:
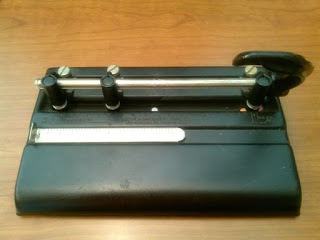
Step 1: Set a 3-hole punch so that two punches are 2.25″ apart.
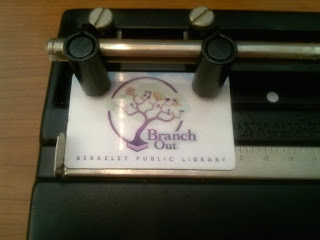
Step 2: Punch the library cards. Make it easier on yourself by setting the guide on the punch so that the dyes are centered on the library card. Ensure the library cards are lighted up with the guide and pushed all the way to the back of the punch.

Step 3: Punch the inside pages. Again, make life easier by re-setting the guides so that the punches are centered on the inside pages. Ensure the library cards are lined up with the guide and pushed all the way to the back of the punch. You will want to punch cards in small stacks (about 5 cards per stack).
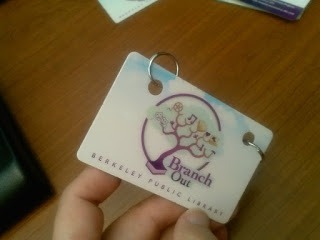
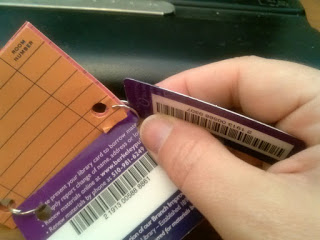
Step 4: Pull the split rings on one library card.
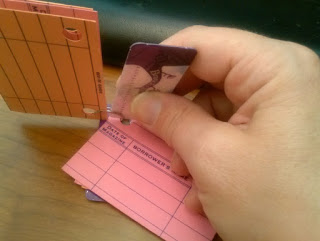
Step 5: (This is the fussiest part of the project.) Add the inside pages to one of the rings. You may want to use another library card to hold open the ring while sliding the cards onto the ring. Add pages a few at a time. Be careful about which way you load the pages onto the ring, particularly if it is important to you which side of the card faces the top.
Step 6: Repeat the process on the other ring.

Step 7: Finish by adding the second library card onto the rings in the same way as you put on the backer card. Be careful about how you load the card onto the ring to ensure that the front of the card shows as the front of your booklet.
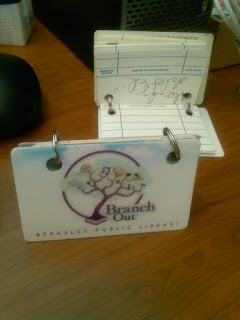
Step 8: Enjoy your new library card notebook!
Source: Andrea Mullarky
